How to Embed Google Slides into Moodle
Faculty may find it helpful to embed Google Slides directly into their Moodle course sites for students to use. This tutorial will explain how to embed a Google Slide presentation into a Moodle course site.
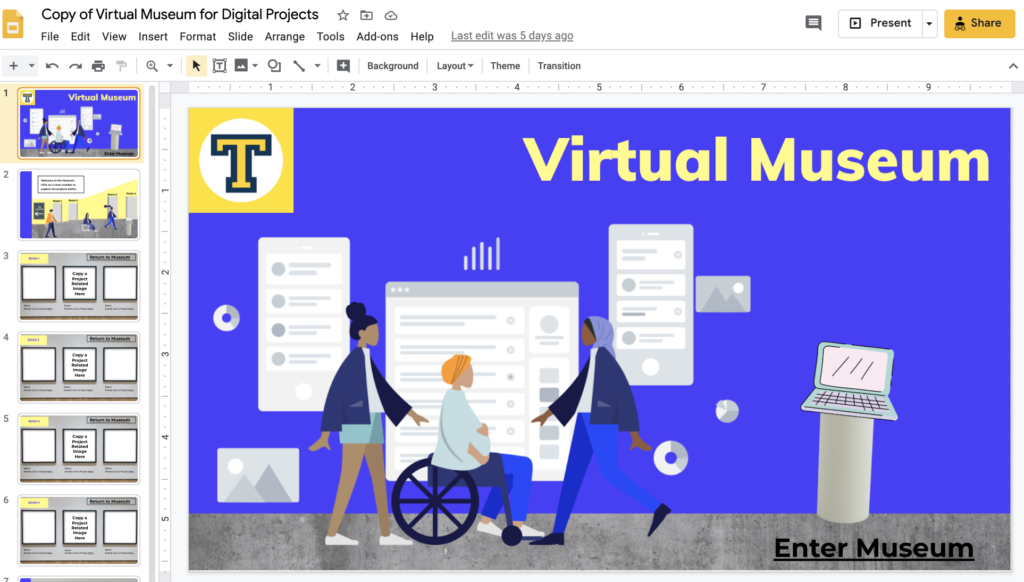
- Navigate to the google slide presentation you want to embed into your Moodle site.
2. Within Google Slides, click “File” and then “Publish to the Web.” Click the “Embed” tab and copy the html embed code. Click “Publish” when you’re done.

3. Open up your Moodle course site and find the place where you’d like to embed your slides. Select “Add an activity or resource.” Select “Page.”

4. After filling in the “Name” and “Description” fields, scroll down to “Page Content.” Select the “show/hide advanced button” and then the “html” button. Some sample html will appear which you can delete. Paste your Google Slides html into this box. Make sure to change the “Width” value to “100%” and then scroll down and click “Save and Return to Course” or “Save and Display.”

**This video demonstrates how to embed your Google Slides html into Moodle and adjust the width value.
5. After you select “Save and Return to Course” or “Save and Display,” your Google Slides should appear embedded in your course site.

To use the Virtual Museum Google template in your course, click here to make a copy.