Using Blippar to Build an Augmented Reality Experience
Blippar (https://www.blippar.com/) offers a few different methods to create augmented really experiences. For the purposes of this overview we will focus on creating an experience for the Blippar App using their easy to use web based BlippBuilder. You can also use BlippBuilder to create web based experiences. The app is more appropriate to use objects or printed images as markers to access AR content including images, audio and video. The web based version is better if you want to see a 3d object in your current surroundings. You can view a few examples by downloading the Blippar app, then clicking and scanning the full size images linked below. Note in the long walk example below some images do not appear properly, this was intentional to demonstrate some limitations with the Blippar application. (For other examples of Immersive Experiences see this post)


Getting Started
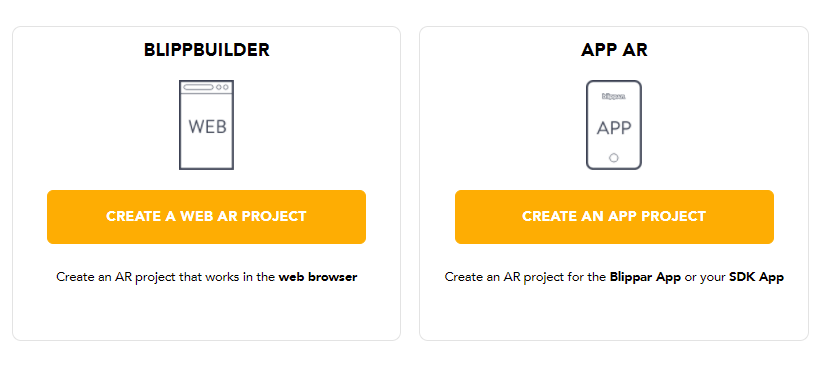
Once you have an account and are logged in create a new App AR project (or a web project if you prefer). Then select your marker. The marker is what viewers will point their camera at to trigger the experience. When thinking about what you want to use as a marker think about the viewer experience. Will you expect viewers to scan a printed image or an object such as a mural or sculpture. If users will scan something outside consider if the view could change over time, changes in lighting conditions, leaves on or off the tress, etc. These changes may affect Blippar’s ability to recognize the marker.
Once you add a marker you will be taken to the canvas where you will add your media and other components. Each canvas is called a scene and you cane have multiple scenes in one project.
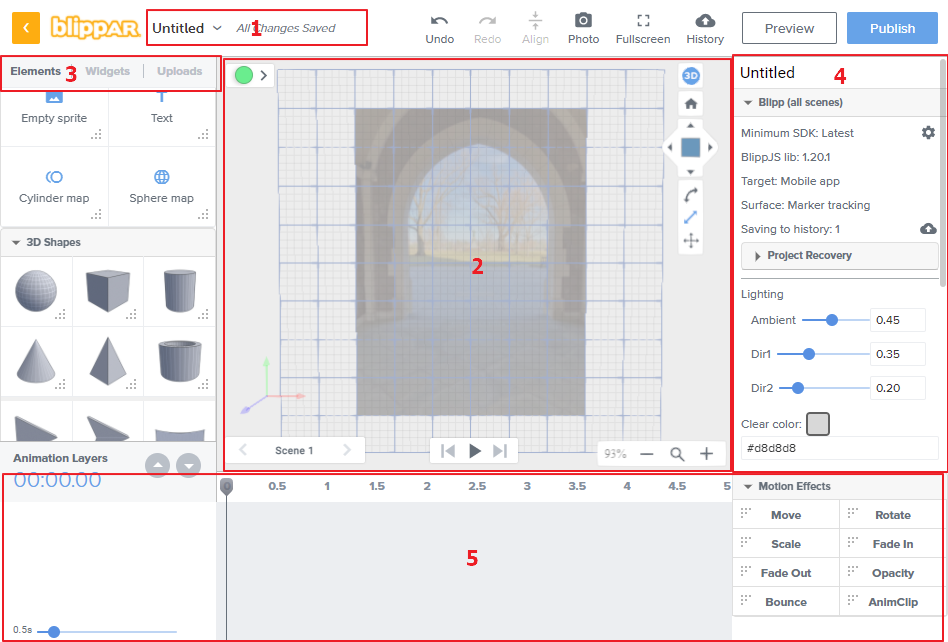
Navigating the Interface
- At first the project will be Untitled. Click this menu to change the project settings including name, background audio, introduction and more advanced options.
- In the middle is the main editing space. Your marker will be in the center
- Note the navigation buttons towards the top right. You can use these to rotate and change the view.
- Towards the bottom right you will see the zoom tools, you can also zoom with the scroll wheel on a mouse.
- At the bottom left you will see the scene navigation. click the name of the current scene to create new scenes
- On the left hand side of the editor you will see 3 tabs
- Elements include built in objects and shapes
- Widgets can be used to add media, a slideshow or other functions (only in the App builder not web builder)
- Uploads is where you will load and find your own images and media files
- The right hand column is where you will find properties for whichever item is selected in the main editing window. Depending on the element, you can change position, size, actions, font colors etc.
- At the very bottom of the screen are the motion effects and timeline.
Adding Elements
To add elements to your scene simply drag them from the left column to your canvas. Click on the uploads tab to load any images or media you want to use then drag them into your canvas.
Adjust the properties as desired (size, position, actions etc). You can assign actions to items such as images. These are primarily for linking to webpages and social media sites.
If you want to link to an audio file or social media site or link to another scene you may want to use the appropriate widgets rather than actions. You can assign “go to scene” as an action but I find the widget to be much more reliable. There is an easy to use slideshow widget. Once you add it to your canvas you can add images via the properties panel on the right.
Using Images
Images must be smaller than 5MB to be added to your project. When you initially add and image it will probably be very large so you will have to scale it down. I have also found that Blippar does not work well with some images, especially ones that have been rotated. You may have to experiment to get them to display properly. You may want to have the image show full screen when a user taps on a smaller thumbnail. To do this you have to be able to use an action to go to a webpage, make sure it is on the web somewhere: either your own space (Domains would be a great option), another website or you could use a Google Drive public link.
Working with 3d Models
The app version requires models to be in Blippar’s proprietary bb3 format and are limited to approximately 65,000 vertices. Most models will be much larger than this. The workflow I recommend is to start with an obj formatted model, import that into Blender, decimate the mesh as necessary to have fewer than 65,000 vertices, then export to fbx format which can then be converted to the bb3 format via Blippar’s tool at https://fbx.blippar.com/.
The web version requires glb formatted models which can be exported directly from Blender after decimating the mesh as needed to reduce the number of vertices.
Adding Motion Effects
You can set elements to move, fade in/out etc by adding Motion effects via the panel at the bottom of the screen. Select the element, then drag the appropriate motion affect to the corresponding timeline. There is a separate line for each element in your scene. I have had problems getting elements to render properly with motion effects, YMMV.
Previewing and Publishing Your Blipp (App)
You should regularly preview your work to see if things are working as expected. To start click the Preview button at the top right of the screen. You will then be given a developer code which you will have to enter in the settings of the Blippar App on your phone. Each project you create will use its own code. Then you can activate the Blipp using the marker shown on your screen or the real thing. When you are ready you can publish your Blipp to make it available to everyone.
Previewing and Publishing Your Blipp (Web)
When you preview your project built for the web you will be given a temporary QR code you can scan as well as a URL you could share to access the project. Once published you will have a persistent QR code and link.
Blippar Examples
Use the Blippar App to scan the images below to see a quick demonstration.

