How to Move or Delete Zoom Recordings
Zoom provides space for short-term storage of recorded meetings and classes, but it should not be used as a permanent storage solution. Use the following methods to free up space on your Zoom account.
Begin by logging in to your Zoom portal at trincoll.zoom.us. Choose “Sign in” then log in with your Trinity credentials, e.g. “username@trincoll.edu” and password.
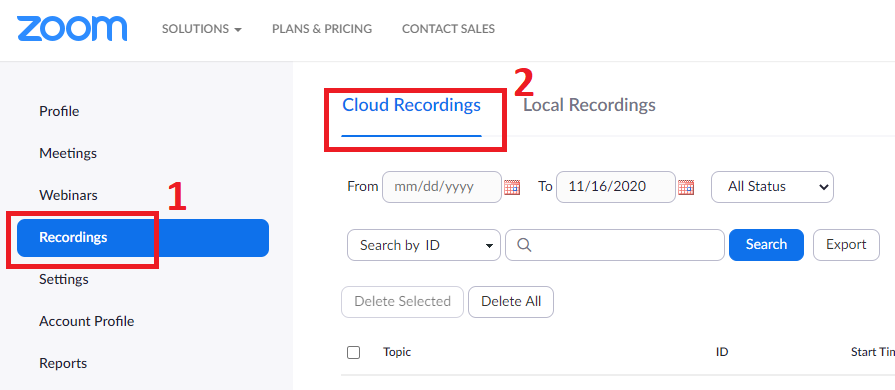
Click Recordings in the left menu, then “Cloud Recordings” to see a list of what is currently saved in your Zoom cloud.
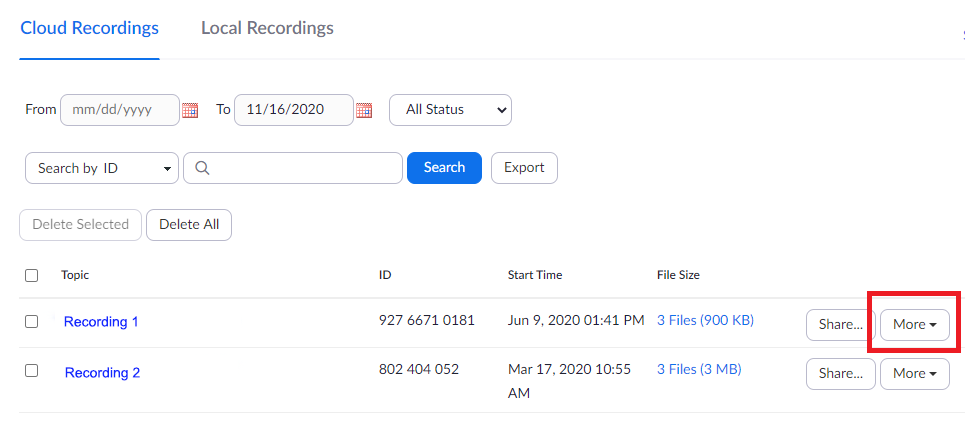
In the far right column, you will see a “More” button with options to either delete or download. If you don’t think you will need the recording in the future, you can choose delete.
Note that if you click on the highlighted title of the recording you can see details about the recording and review its content.
When you choose “Download” you will get a batch of files: one or more video files, an audio file, and a .vtt file, which is the closed captions. If you are saving several meeting recordings, it may help to organize these batches into separate folders on your desktop as you download them.
Upload to Kaltura
Upload to Kaltura if you intend to continue using the recordings or sharing them with others. (See instructions for sharing within Moodle, or from the Mediaspace video portal).
Log in to Kaltura one of two ways:
- Go to the video portal at https://trincoll.mediaspace.kaltura.com/. Click “guest” in the top right corner, then log in with your Trinity credentials. Click on your name, then “My Media.”
- Go to Moodle.trincoll.edu, log in, click “My Media” from the left side menu.
The rest of the instructions apply regardless of your login method.
- Choose “Add New” then “Media Upload.”
- Select one of the video files (.mp4) you downloaded from Zoom, and upload.
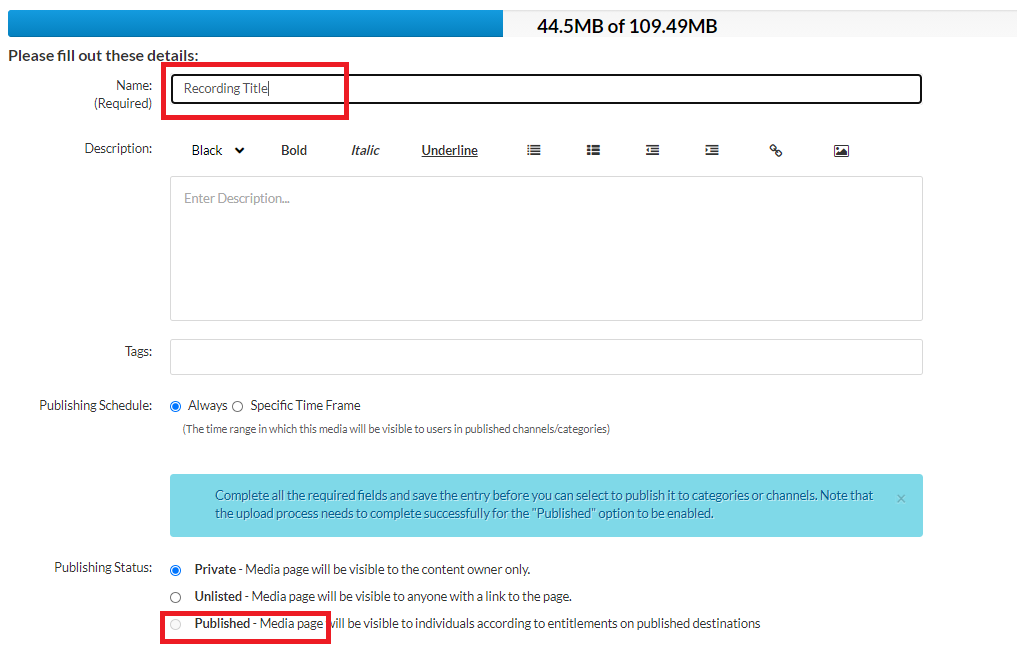
- While the recording is uploading, fill in the Title and optionally a description. When the recording is finished uploading and processing choose “Published” if you intend to share the recording either publicly or with courses on Moodle.
Including Closed Captions
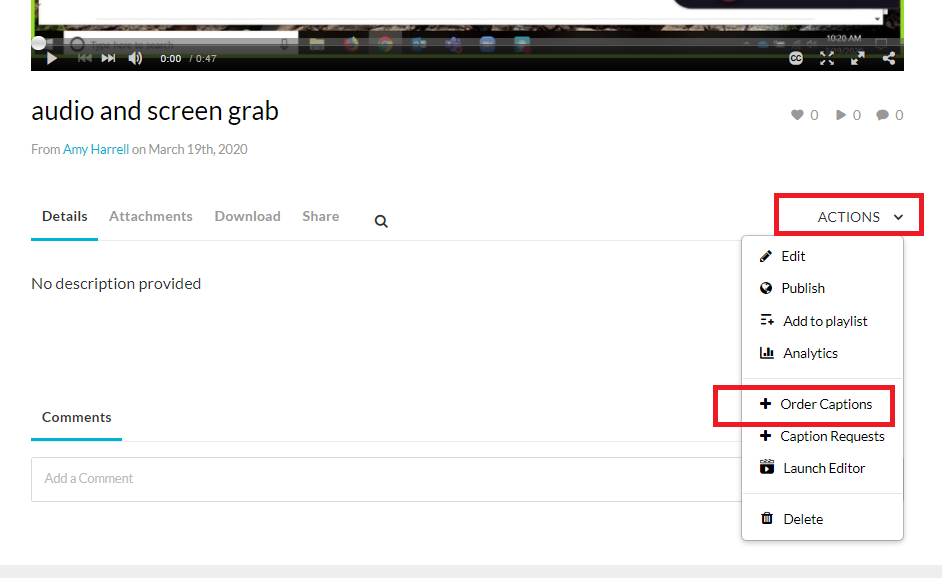
From the upload screen, click “Go to media.” Click the Actions menu right under the video player window, and click “Order Captions,” then the blue Order Captions button to confirm.
When the captions are finished processing, you can return to the Actions menu, but click “Caption Requests.” You should see a record of your request and a blue edit button.
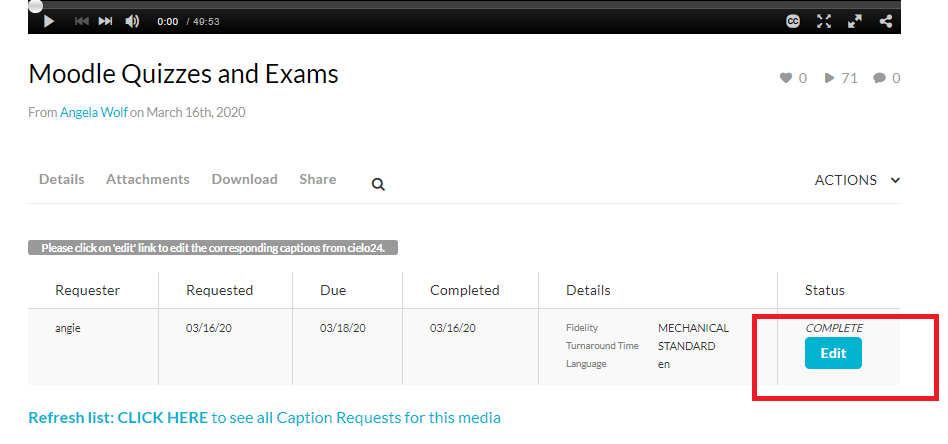
The edit button will take you to a separate captions editor where you can play the video and edit the text of the captions. Save your work regularly with green save button at the bottom. When you are finished, click Save and Approve. The captions you edited will automatically load to your video.
Upload to OneDrive
You can also upload your videos to OneDrive instead of Kaltura. This option could be used when you have no plans for sharing the videos, but you are not ready to delete them permanently.
- Log in to portal.office.com, and click the OneDrive icon:

- Click upload at the top of the screen and choose the folder(s) containing files you want to move.